17 Bulgarian Scientific Discoveries

Bulgarian scientific discoveries in order of their enrollment in the “Golden Book of Inventors and Discoverers in Bulgaria”:
1. Georgi Nadjakov – Photoelectretic State of Matter, 1937
2. Ivan Mitev – Sixth Heart Tone, 1973
3. Hristo Ivanov and Petar Markov – Metallotropic Tautomerism in Derivatives of Keto-Enols, 1964
4. Ivan Nikolov, Michael Maleev, Bogdana Zidarova and other scientists from USSR – Regularity in the Kristalomorfological Evolution of Minerals in Processes of Mineral Formation, 1958
5. Alexander and Vera Buchvarova Doychinova – Deep venous thrombosis with cost coagulopathy in childhood, 1970
6. Georgi Manolov and Yanka Manolova – Typical chromosomal marker in Burkitt’s lymphoma, 1971
7. Veljko Zayachki, Pavel  Markov and USSR team – Regularity Amending Radius of the Strong Interaction of Protons at High Energies, 1961
8. Yoto Stoyanov, Tsvetan Evstatiev, Dimitar Dorosiev, Juliet Pentcheva-Tomova and Georgi Nachev – Phenomenon Nephropathy, 1956
9. Draga Tontcheva, Tzvetan Gergov and Mary Tsoneva – Chromosome Marker in Balkan Endemic Nephropathy, 1985
10. Veselin Pavlov Shterev – Consequential Depending on Atrioventricular Conduction Time of the Heart Rate Increased Activity of the Parasympathetic Nervous System, 1968
11. Anna Elenkova, Maria Mavrudieva, Kolyo Byanov, Delyana Daskalova, Zoe Vaskova and Theodor Garnizov – Differences in the Degree of involvement of Genetic Factors among Patients with Essential Hypertension according to the Pathogenetic Mechanism Leading and Volume or Vasospastic Effects, 1989
12. Rumen Dobrev, Dimitar Djerov, Violeta Manova, Georgi Stoimirov, Nikolay Matev and Hristosko Vasilev –   Bone-Muscle Interaction, 1988
13. Todorka Milkovska-Dimitrova and Atanas Karakashov –  Genetic Markers  Dependence of Congenital Connective Tissue Disease, 1982
14. Emil Pavlov –  Vessel  Formation in Germ Cell Tumors, 1987
15. Borislav Georgiev – U Wave and its Electrophysiological Image, 1992
16. Hristo Dichev – Formation of Dichev’s Rings in  Magnetic Fild, 2000
17. Vangelia Azmanova and Denyo Azmanov Destructive Action of Candida Albicans on the Tooth Surface, 1990

References:
1.  www.znam.bg/com/action/showArticle;jsessionid=1684754013E7A09876DDB8C678865895?encID=1&article=2372034125
http://struma.bg/news/31572/1/1/S-podkrepata-na-Vanga-blagoevgradchankata-prof-d-r-V-Azmanova-razkri-sekreta-na-dulgoletieto.html
2.  www.dichev.badgad.net/%D0%BF%D1%83%D0%B1%D0%BB%D0%B8%D0%BA%D0%B0%D1%86%D0%B8%D0%B8/

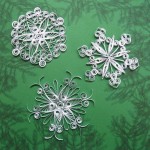
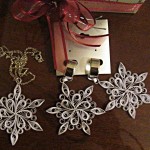
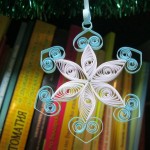
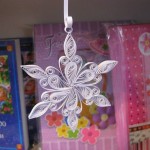
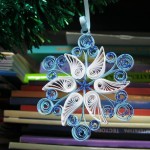
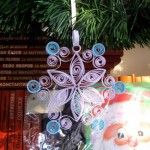
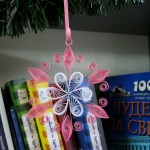
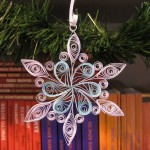
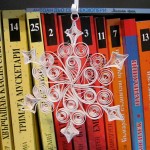
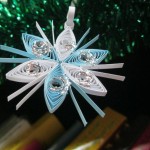
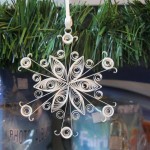
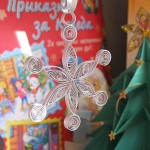
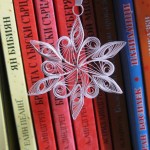
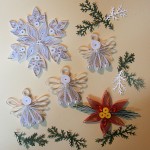
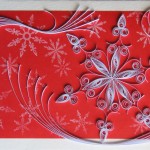
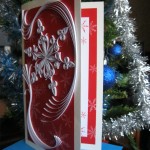
Snowflakes from paper strips – quilling

The snowflake is a little miracle of nature, it is one of winter’s adornments and inspiration for our Christmas and New Year decorations.

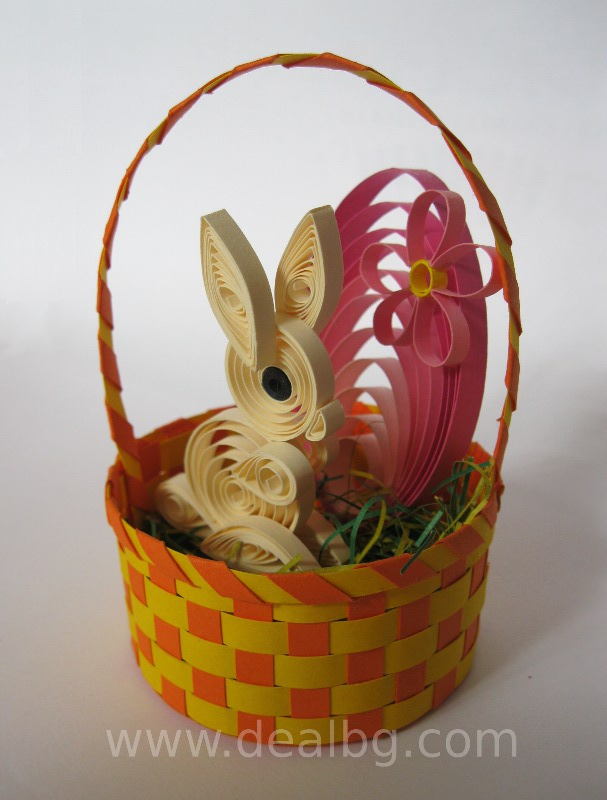
Effective and unique snowflakes can be prepared with the popular technique quilling.

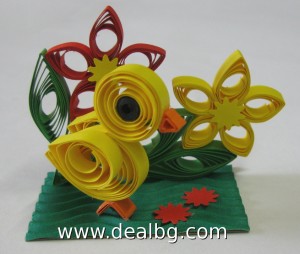
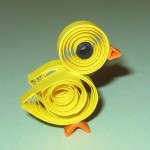
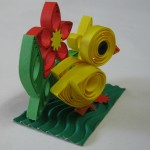
3D Easter Chicken – Quilling for Beginners

Quilling Easter ChickQuilling is a popular technique for decorations from rolled paper strips. One can craft beautiful Easter decoration following this tutorial. Patience may also be necessary, as the process might take a while.

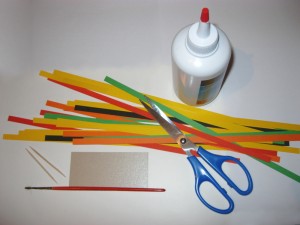
The materials and instruments you will need are: cardboard 160 g / cm in yellow, orange, black, green and red, glue (here we use C 200), scissors, two toothpicks, thin brush or a stick with a diameter of about 3 mm and also a piece of cardboard for basis (in our case the grass).
You begin with cutting several paper strips with a width of 5 mm (7 mm can also do, if you are not very sure in our skills). You get strips with a length of 30 cm from cardboard A4.

Materials for quilling

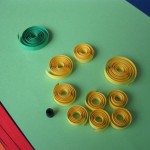
For the chicken in the photo we will need five yellow strips – one 30 cm long strip for head and 2 strips with a length of 20 cm for each wing and for the body – strip and a half – 45 cm.

As we are beginners, we will cut more yellow strips and then choose the best of them and use them to assemble the chicken. The rest will be needed for the extra decoration (flowers).

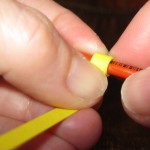
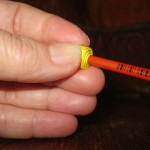
 Let’s try to roll up a strip with the handle of the brush.

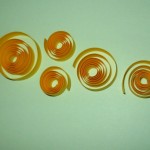
Quilling form      Quilling form      Quilling form    quilling spirals


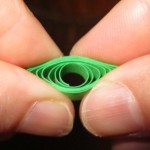
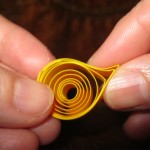
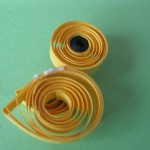
Now we can start rolling the strips. Be sure to press the paper with your fingers. This way you will obtain a denser spiral. Once you roll the strip to the end, release it.

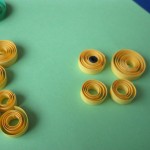
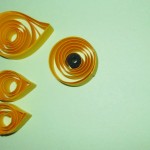
We will work with glue in small portions, so you can pour the glue in a bowl or on a piece of paper and apply it with a toothpick. First you have to glue the ends of the coiled strips. Try to make the ones for the wings with equal size and shape.

quilling  bonding strips   quilling eye making   Quilling elements     Quilling spirals

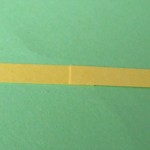
For the body of the chicken you will have to glue together a strip and a half strip. The area of bonding should be about 5 mm.

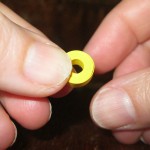
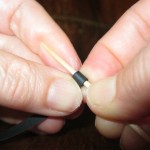
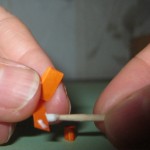
We will need a 5 cm black strip for the eye of the chicken. You must curle it tightly using a toothpick. Put the ready black cylinder at the center of the strip, which will serve as head.

Use your fingers to shape the wings and the body in a droplet form and glue the head and wings to the body.

Quilling form    Easter quilling - Chicken     Easter quilling - Chicken      Easter quilling - Chicken

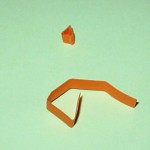
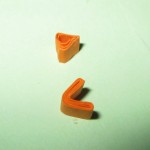
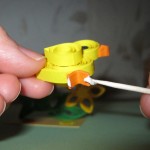
Make a small triangular beak and legs from the orange strips and glue them to the body and head. Make sure that the chicken can stand steadily on his new legs.

Easter quilling - Chicken     Easter quilling - Chicken     Easter quilling - Chicken     Easter quilling - Chicken


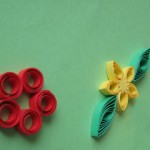
Use the remaining strips to shape the flowers and leaves for our background. The leaves are made using 30 cm long green strips. The petals are made from 15 cm long yellow and red strips.
Arrange them by gluing them together and finally attaching them to the base. We can also use additional elements for decoration, such as flowers, made using a paper-punch.

Easter quilling - Chicken      Easter quilling - Chicken     Easter quilling - Chicken     Easter quilling - Chicken

Good luck and don’t forget to have loads of fun!